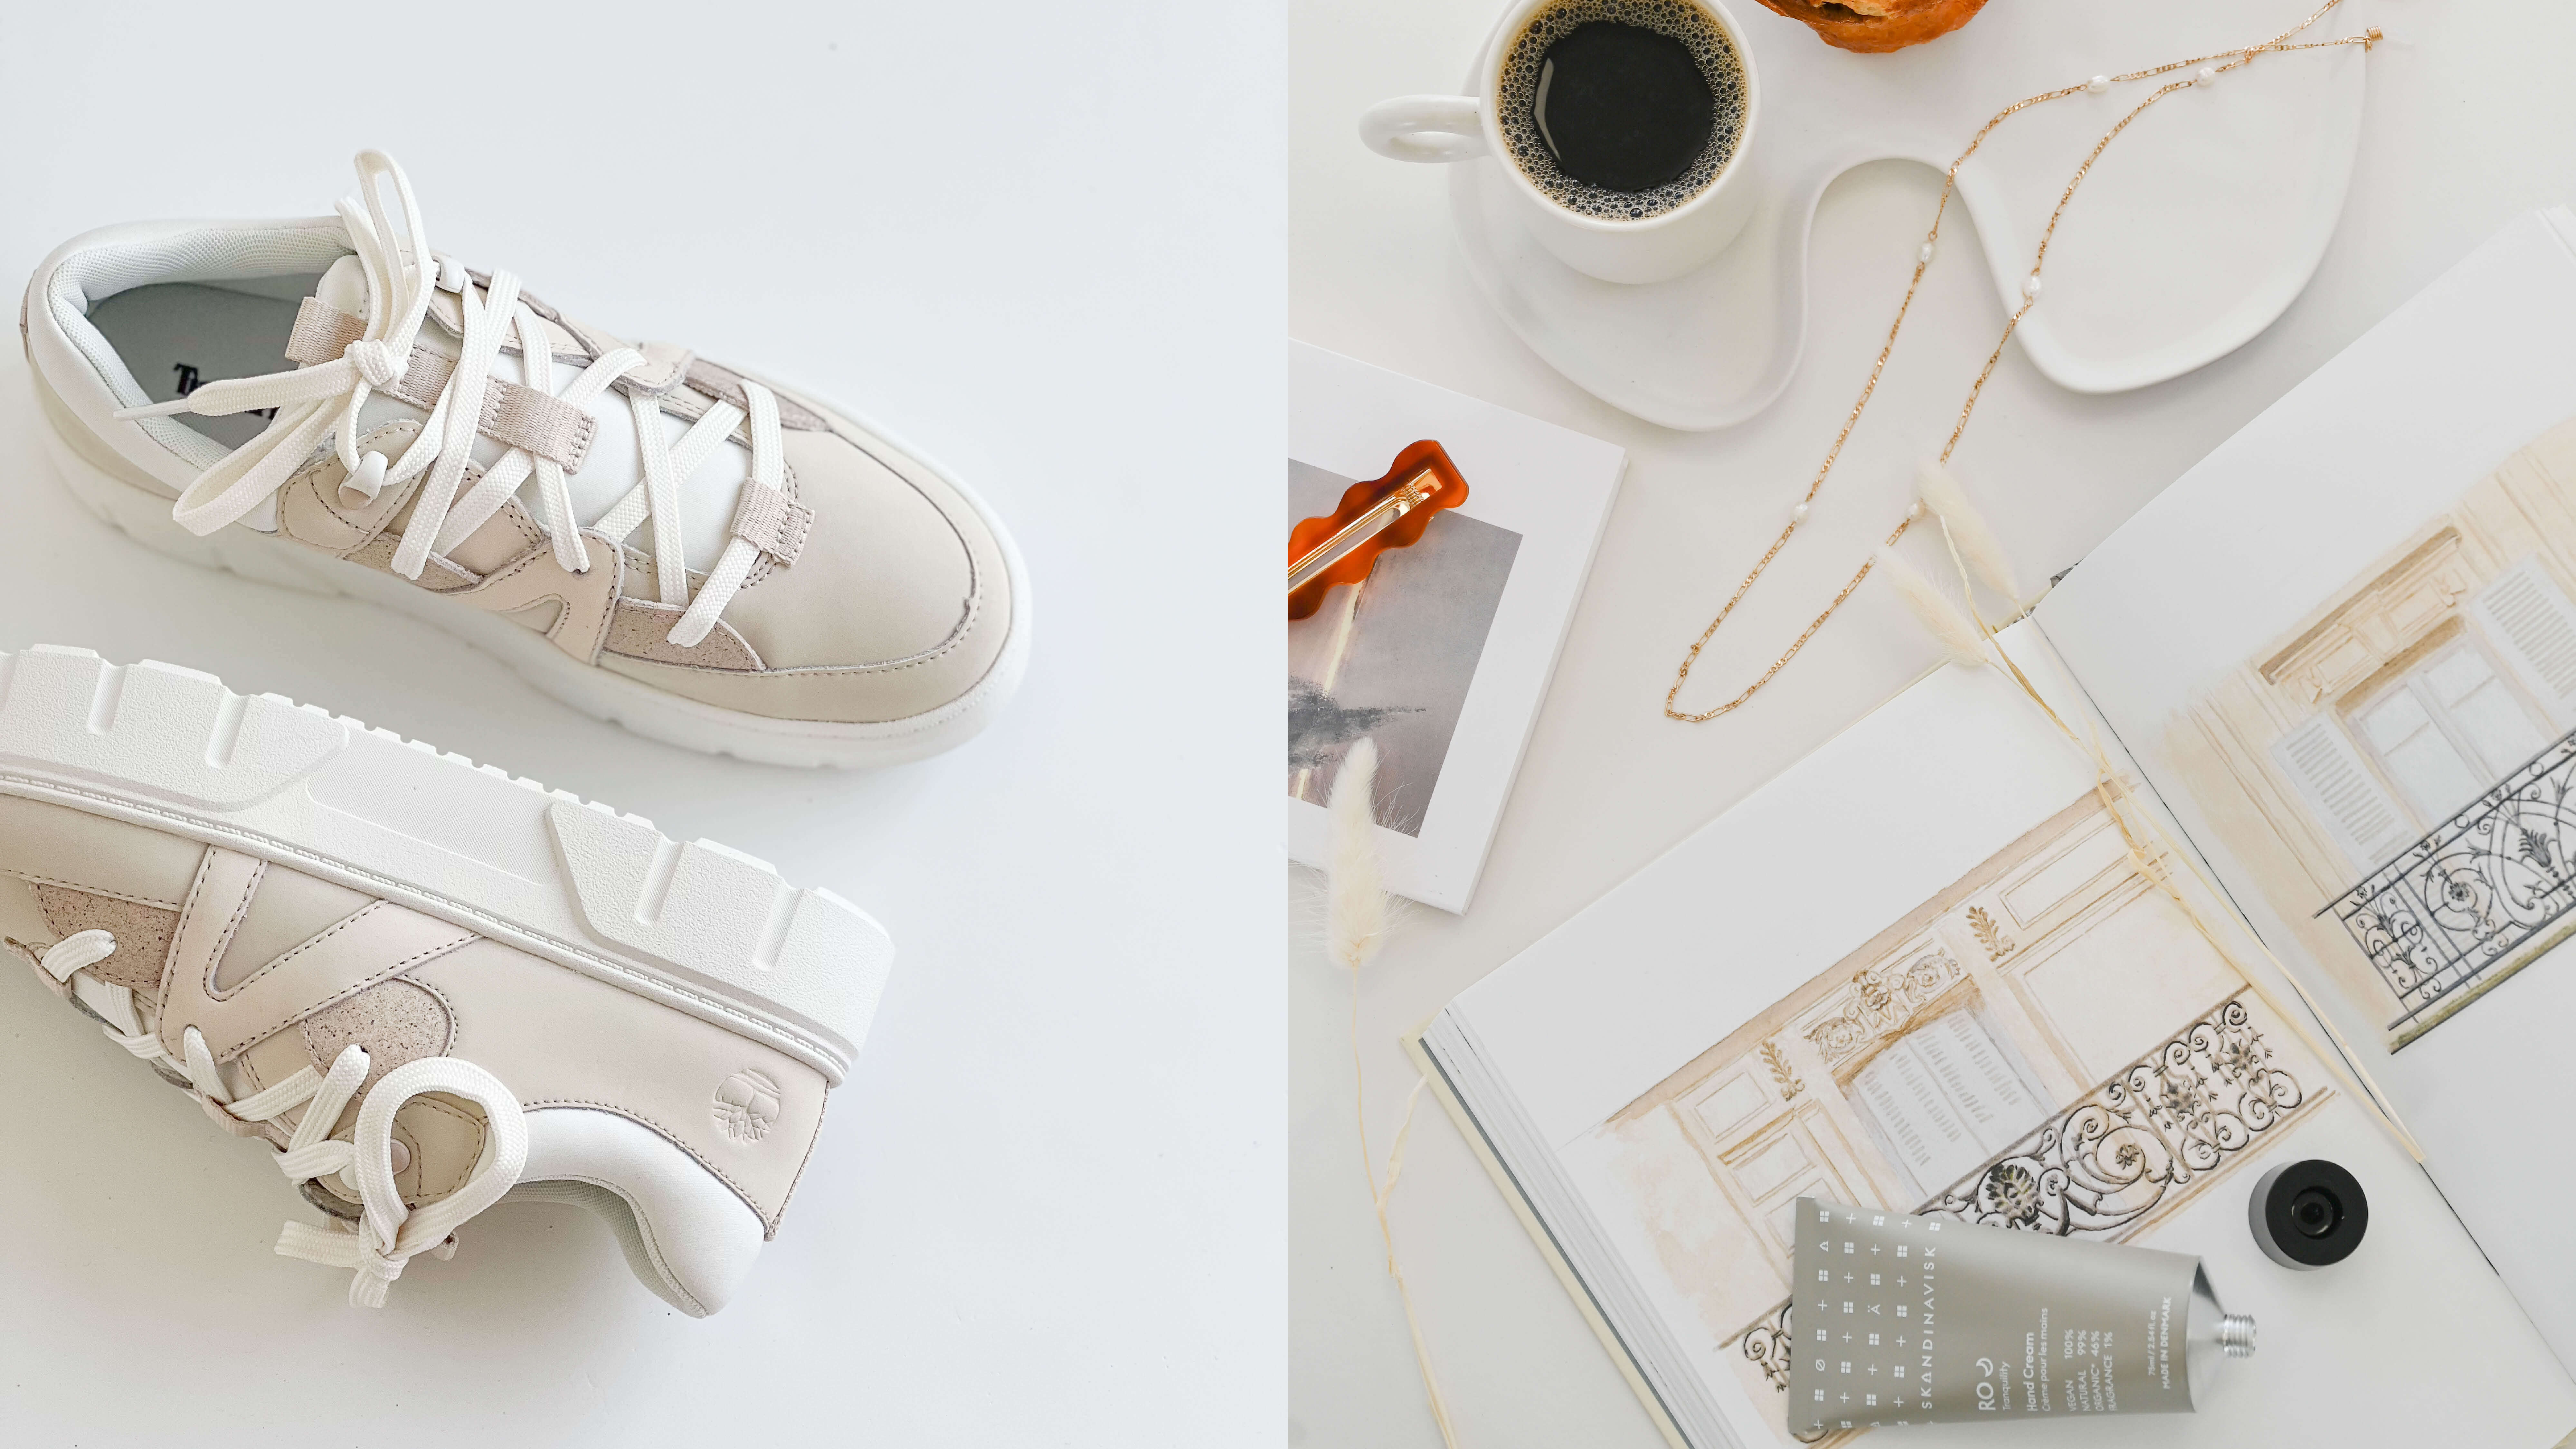
Phone Photography: 10 top tips for stunning product shots
Nowadays, the smartphone in your pocket is more than just a way to keep in touch with your loved ones and making long business calls; it’s a powerful tool for creating professional-grade product photography. Whether you’re an entrepreneur looking to enhance your online store or a creative enthusiast wanting to showcase your latest project, mastering product shots with your phone can significantly elevate your visual content. So today, we want to share our top 10 tips for great phone-photography.
1. Use Natural Light
Natural light is often the best choice for product photography, as it provides even, soft lighting that reduces harsh shadows and brings out the true colours of your product. If possible, shoot near a large window during the day. If you need artificial light, opt for a ring light or soft-box with neutral white light.
2. Steady Your Camera
Keeping your phone stable is crucial for clear, sharp images. Use a tripod or place your phone on a steady surface. Even the slightest movement can cause blurriness, especially in low-light conditions.
3. Experiment with Angles
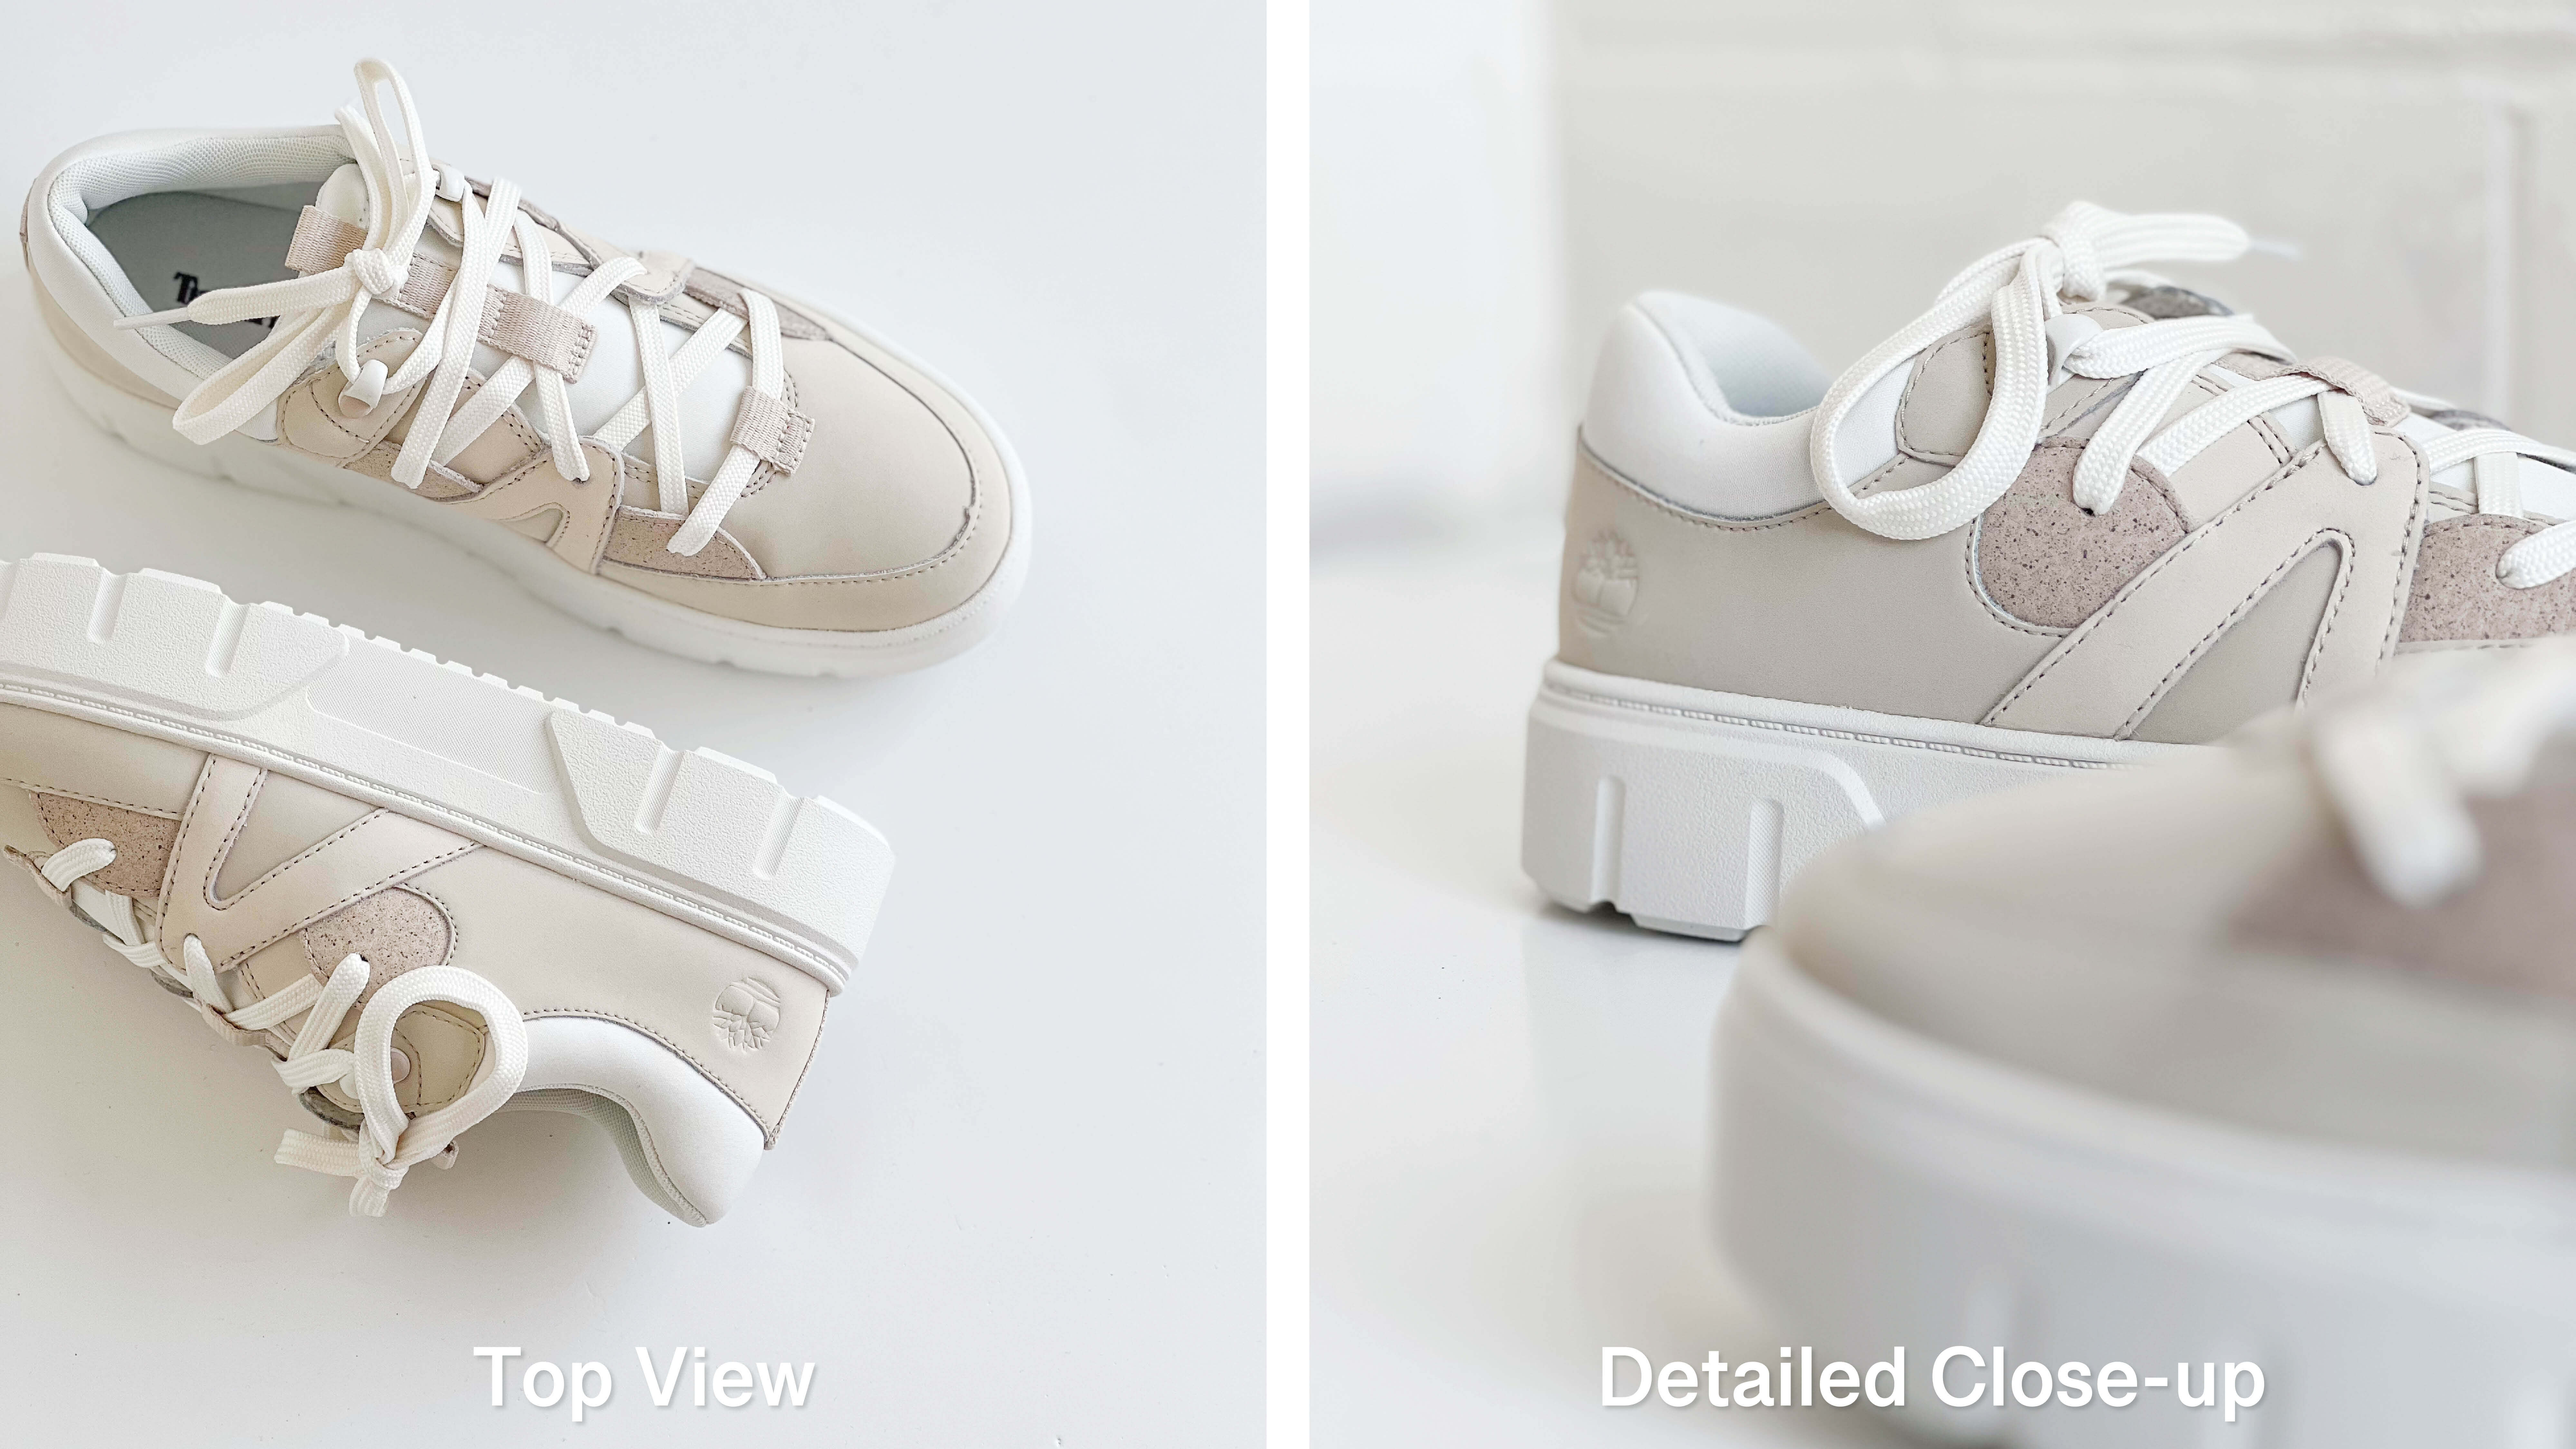
Capture your product from multiple angles to give potential customers a complete view. Common shots include the front, back, sides, and close-ups of important details. This approach is particularly useful for products with intricate details or textures.
4. Use the Zoom Carefully
Digital zoom on smartphones can degrade image quality, making your photos appear pixelated and blurry. If you are using zoom, make sure you use the zoom-buttons on your camera, and not manually zoom. Most smart phones now come with multiple lenses, providing crips imagery at 1x, 2x, 3x zoom and similar.
5. Use Props and Context
While plain backgrounds are essential for highlighting your product, adding context with props can help tell a story and show how the product can be used. Ensure that props complement rather than overshadow the product.
6. Use Light Reflectors
White Reflectors help reflect light onto your product, minimising shadows and highlighting details. This can simply be a white sheet, cardboard or paper. Anything bright that will reflect light well. This works especially well if there is bright sun coming in your window and you want to avoid harsh shadows. Simply place the reflector on the other side of your product towards the sun, and play around with it until you find a nice soft light.
7. Take Advantage of Your Phone’s Camera Features
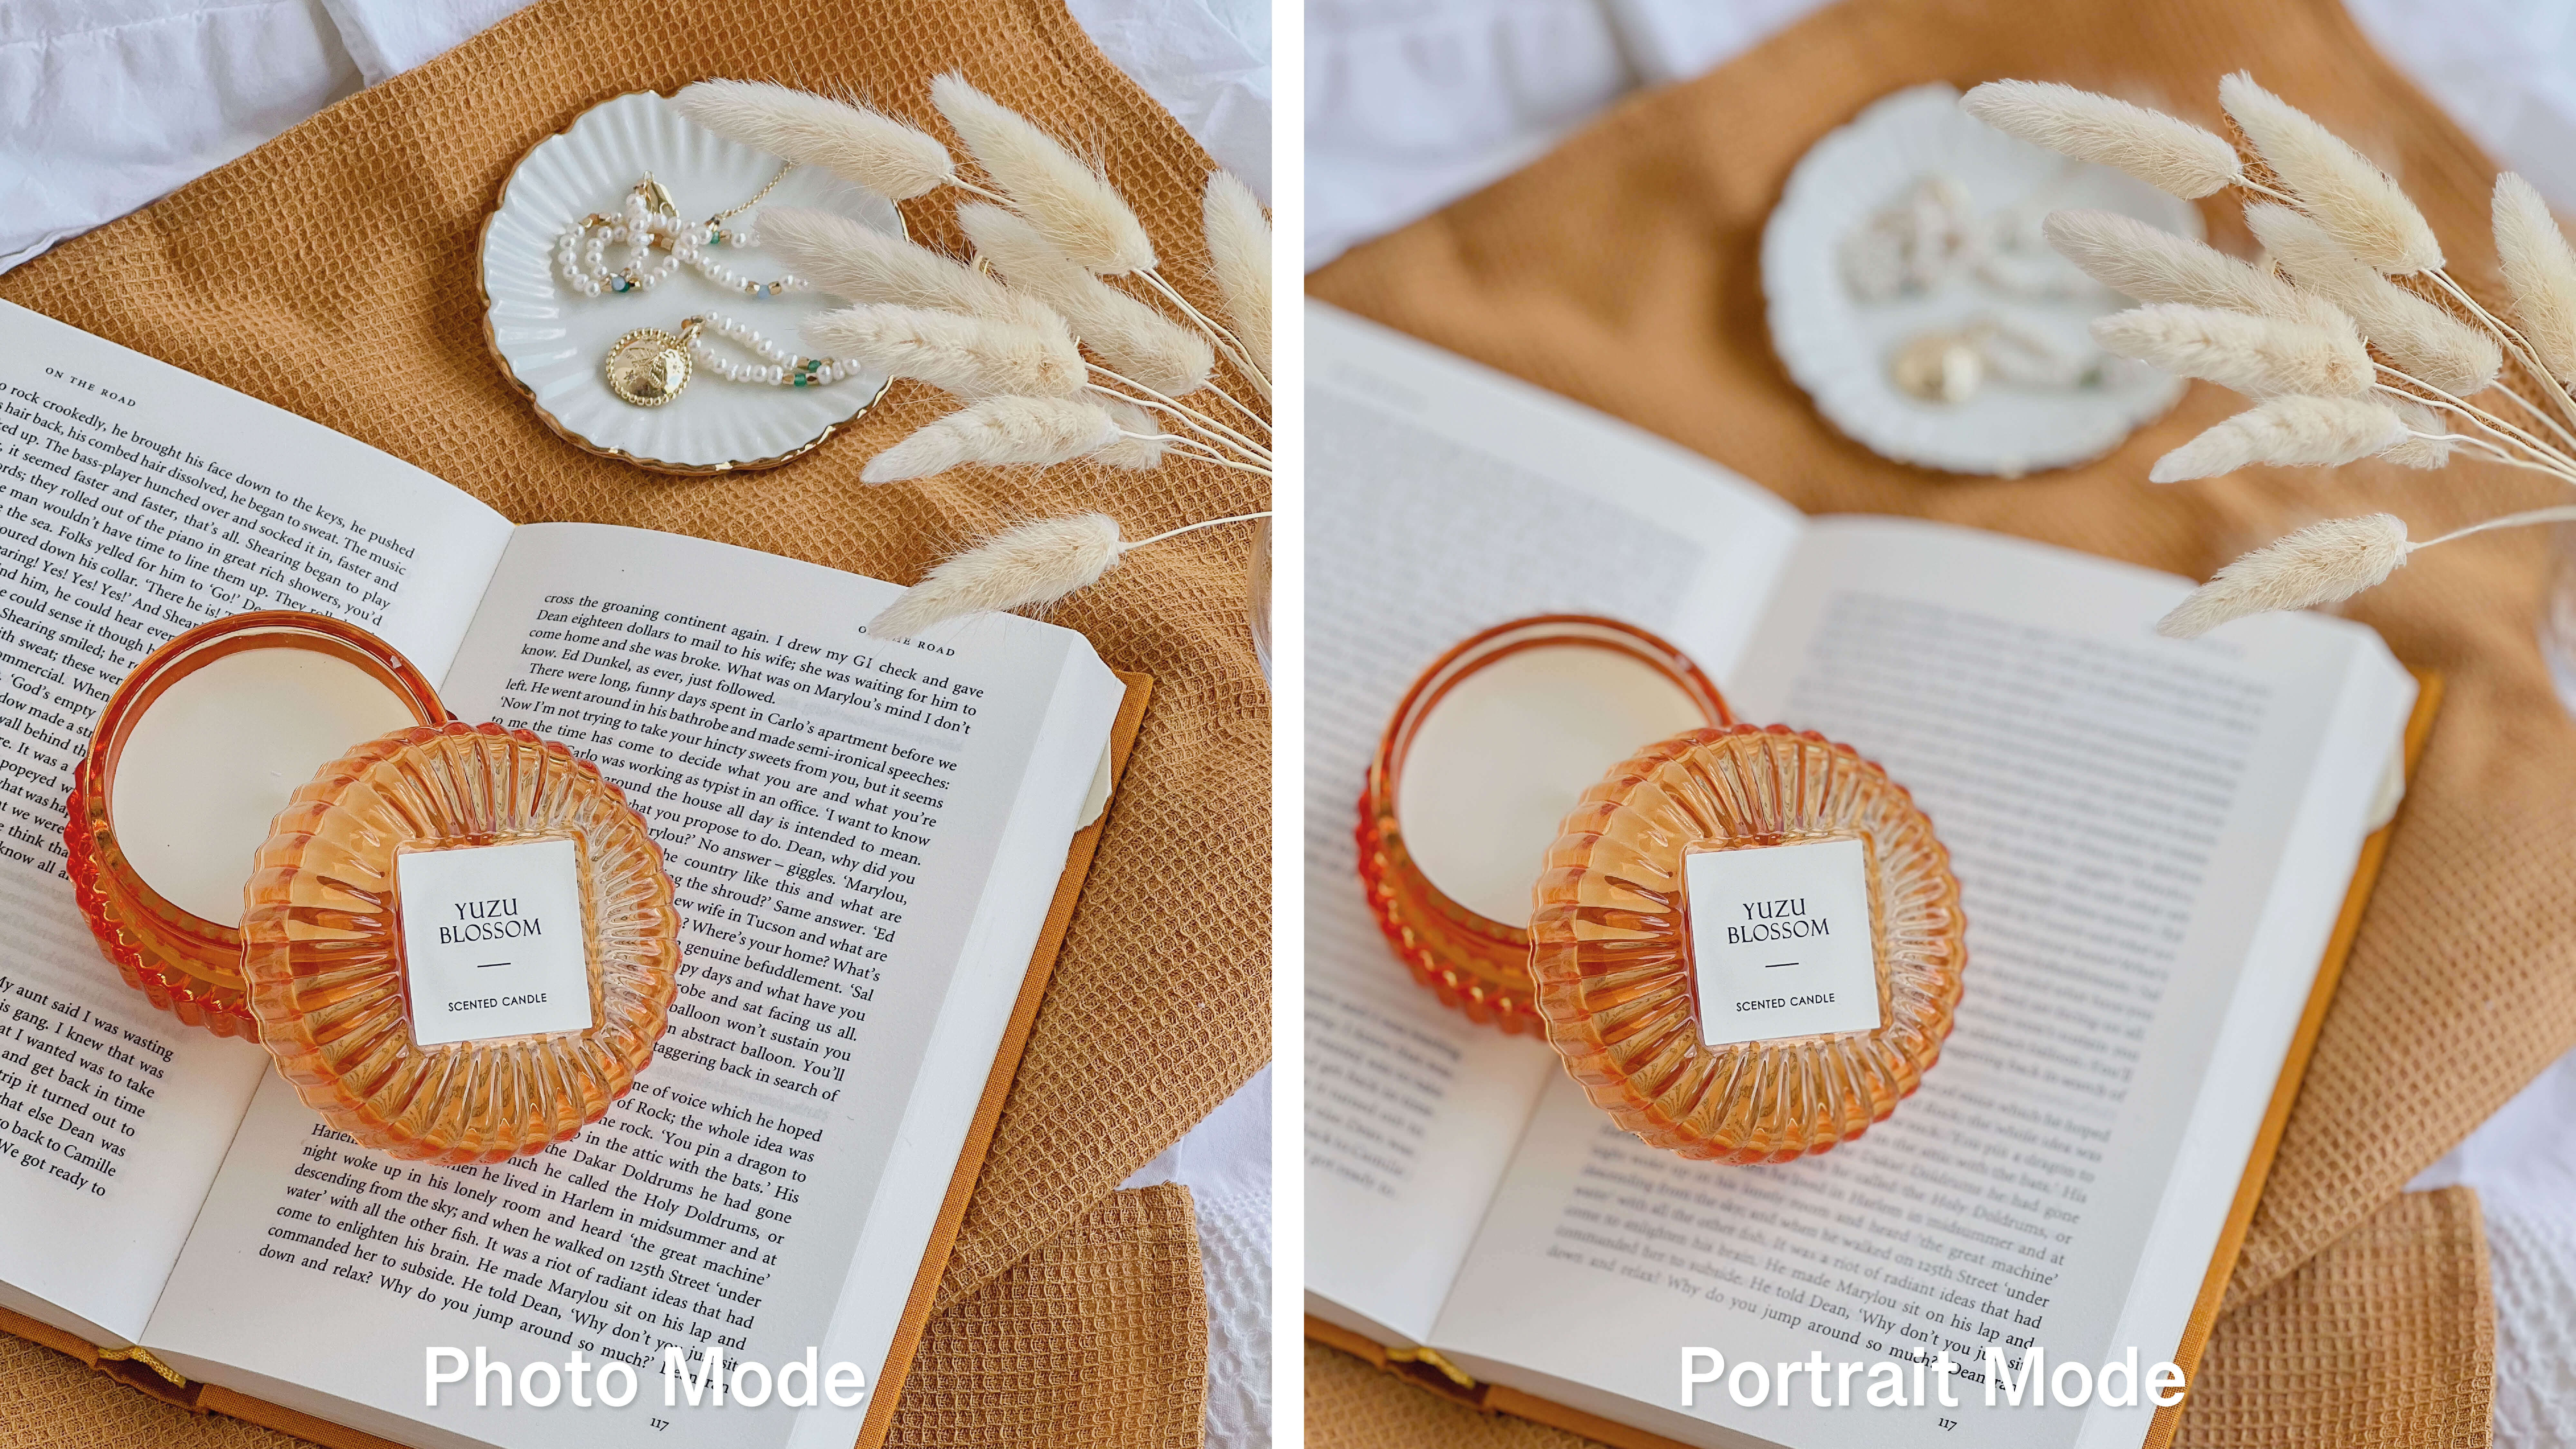
Modern smartphones come with advanced features like Portrait Mode for a blurred background effect (bokeh) and HDR for capturing high-contrast scenes. Experiment with these settings to enhance the depth and quality of your photos. Using portrait mode, you can highlight your product in a setting, see example below.
8. Focus and Adjust Exposure
Tap on your phone screen to focus on the product and adjust the exposure. This ensures that the product is sharp and well-lit. Many smartphones also allow you to lock focus and exposure, which is helpful when experimenting with different angles.
9. Edit Your Photos
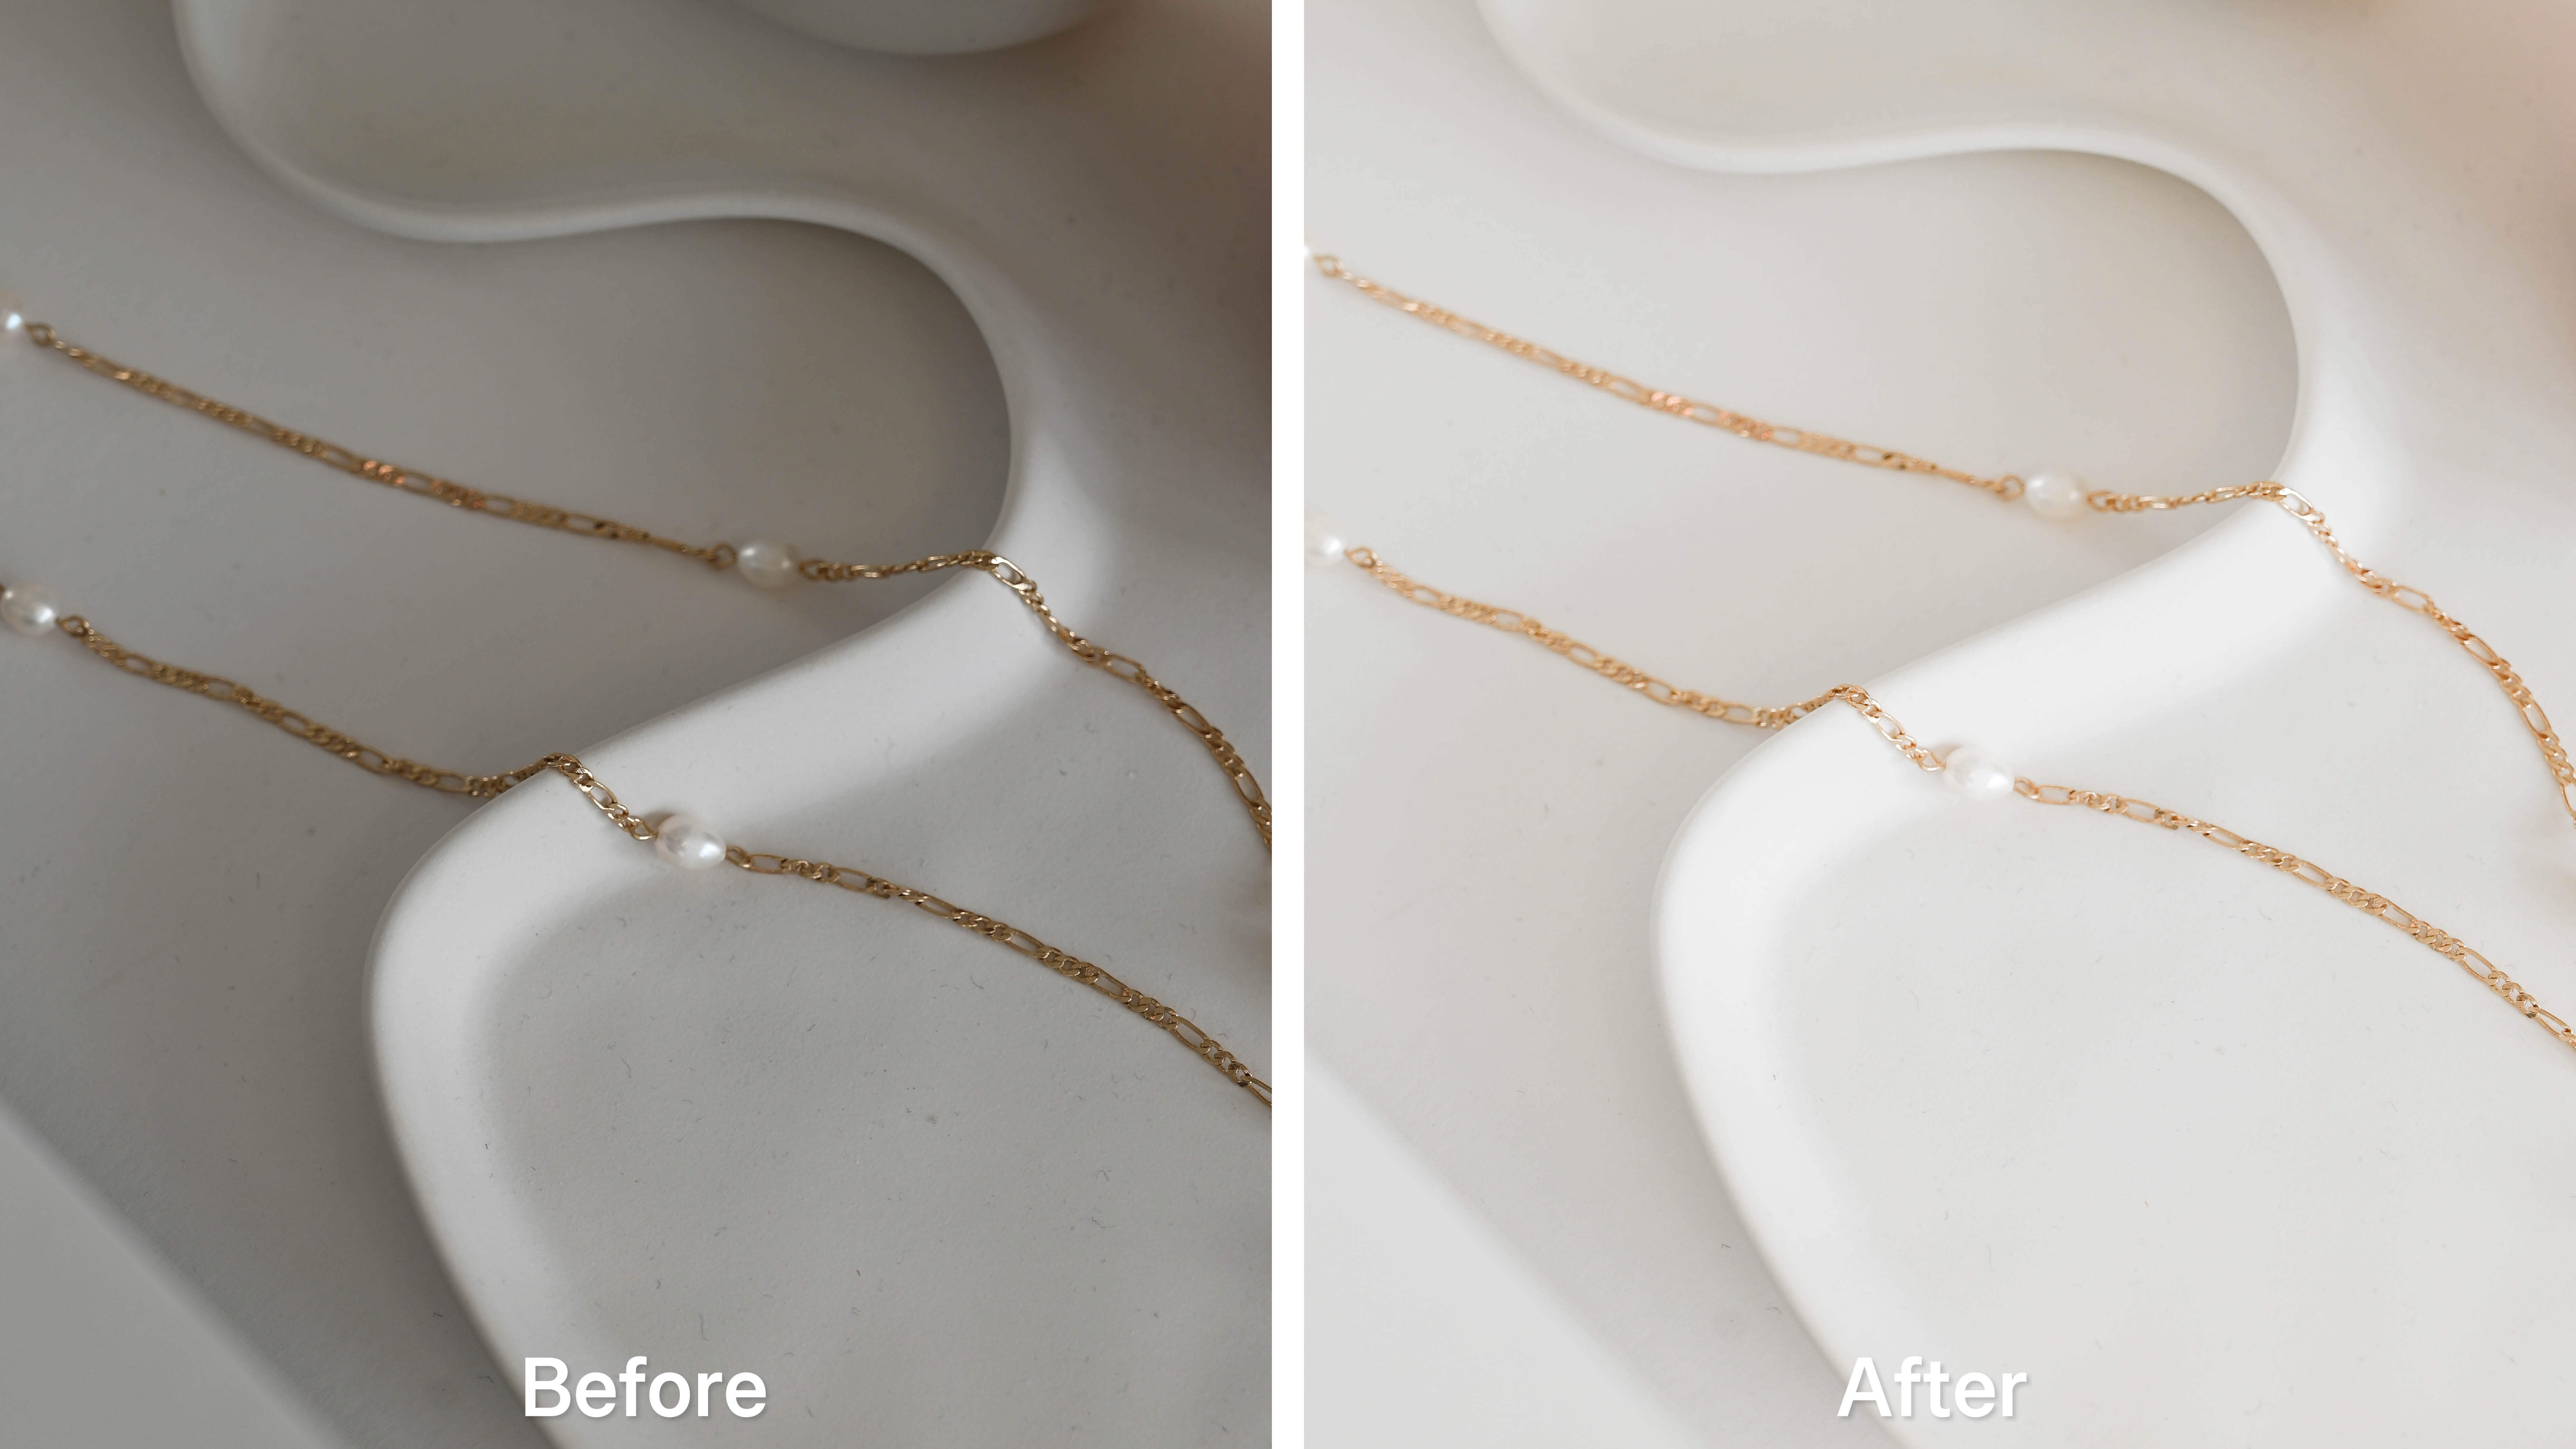
Post-processing is key to achieving a polished look. Use editing apps to adjust brightness, contrast, and sharpness. You can also crop images to remove any distracting elements and focus solely on the product. In the example below we have upped the brightness, lightened the shadows and slightly increased sharpness.
10. Consistent Styling and Branding
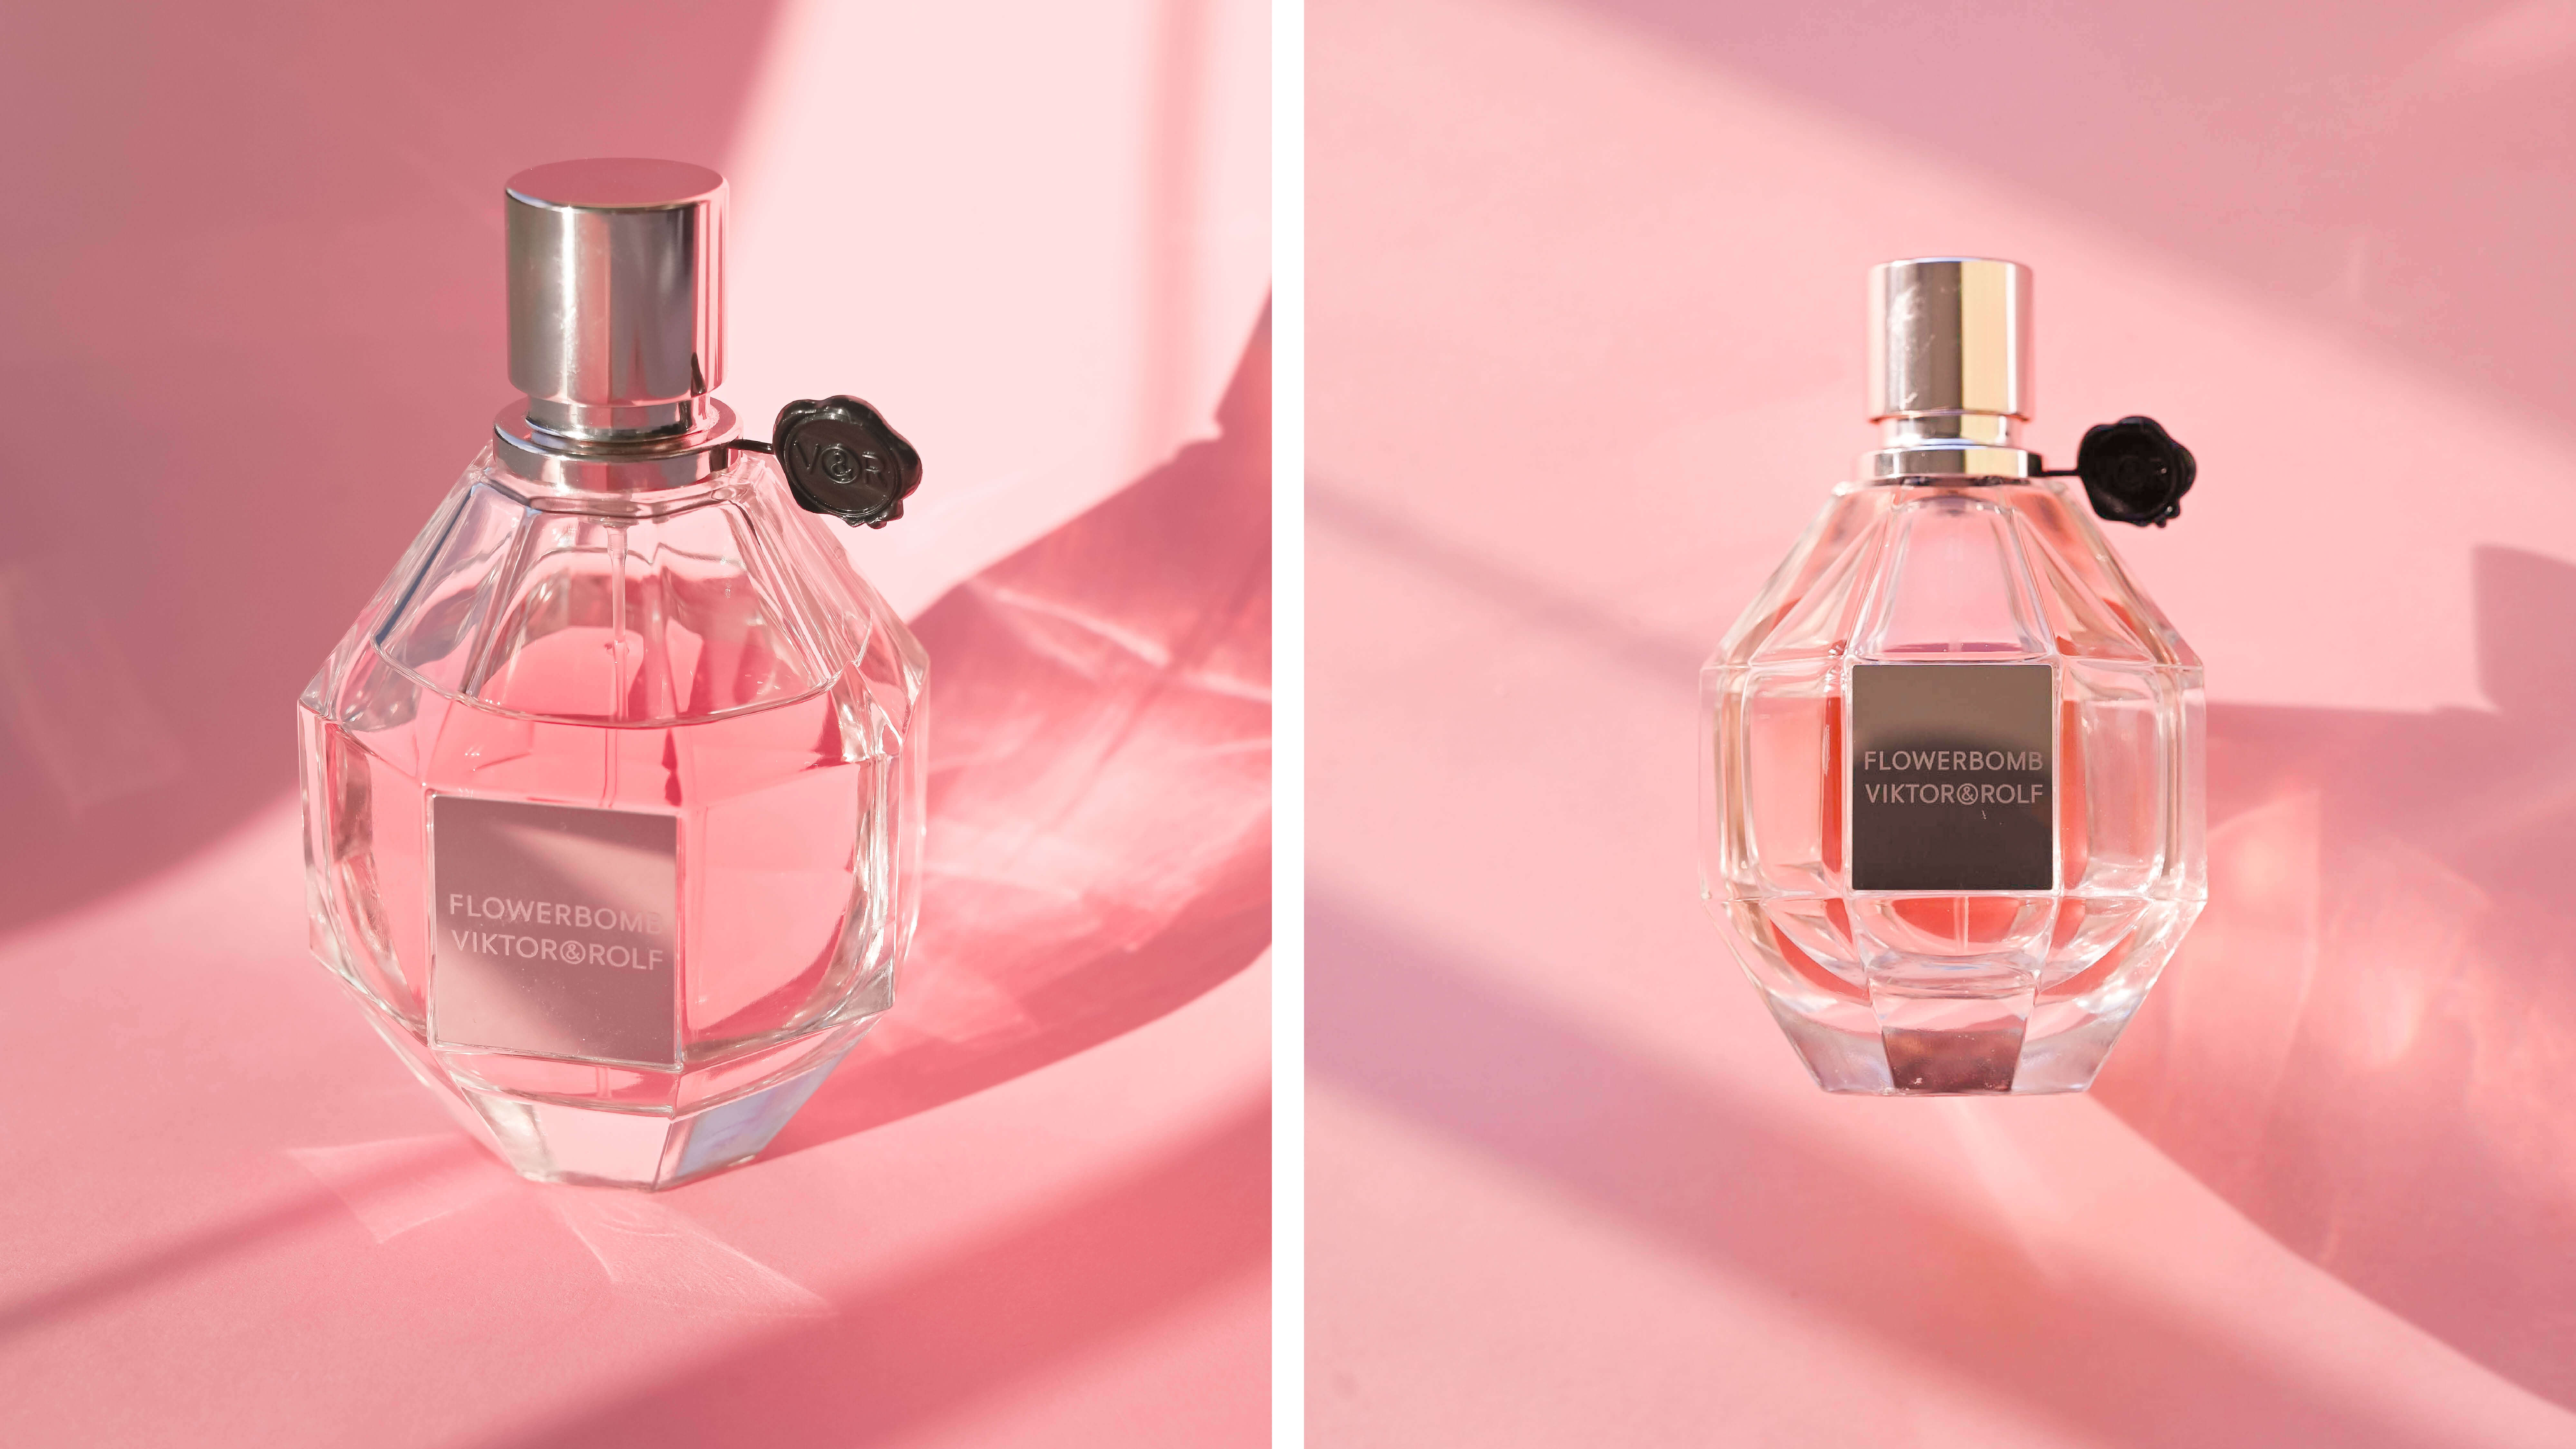
Maintain a consistent style across all your product photos to create a cohesive look for your brand. This could be through similar lighting, backgrounds, angles or editing, which helps in establishing a recognisable brand aesthetic. For example, in the example below we kept all the shots bright, minimal and clean to create a seamless style across many different product shoots.
Rather focus on your business than taking the photos? We can take care of the photography for you! Take a look at our small business subscription packages to see how we can support you and your brand.

